
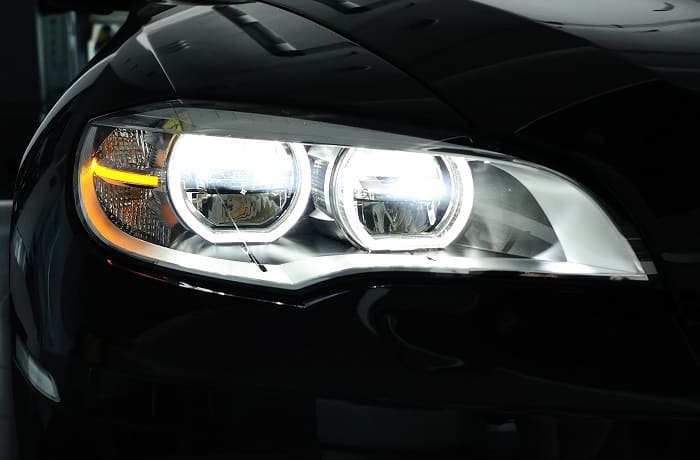
Headlights are vital for safe driving, especially at night or in poor weather conditions. Yet, they’re prone to damage from UV rays, scratches, and yellowing over time.
A robust solution to restore and protect your car’s headlights is applying a 2K clear coat. This two-component system includes a base coat and a hardener that, when mixed, creates a resilient shield.
Unlike traditional single-component products, a 2K clear coat offers enhanced durability and resistance against environmental factors.
The superiority of the 2K clear coat arises from its formula. It provides exceptional UV resistance, safeguarding the headlight from sun damage that can cause yellowing.
This coating is also remarkably resistant to scratches and abrasions, ensuring your headlights remain clear and functional for longer.
With these benefits, using a 2K clear coat not only restores the clarity of your headlights but also extends their lifespan, making this method a smart investment for any car owner.
1. Preparation of Headlights
Cleaning and Sanding
To ensure that the 2K clear coat adheres appropriately and looks its best, starting with a thorough cleaning and sanding process is crucial. Here’s how you can prepare your headlights for the application:
Wash the headlights with soap and water
Use mild soap and warm water to remove surface dirt, debris, or grime from the headlights. This initial wash helps ensure a clean surface before you start sanding.
Wet sand the headlights
After drying the headlights, start sanding with 400-grit sandpaper to strip away any old coatings and reduce the appearance of heavy scratches or oxidation.
Progress to 600 grit to refine the surface, and finish with 800 grit sandpaper to smooth out finer imperfections. Keep the surface wet during sanding to prevent scratching and to remove sanding debris more effectively.
Polishing
After sanding, the next step is to polish the headlights. Apply a quality plastic polishing compound to buff the headlights. This step is essential to remove any fine scratches left from sanding and restore the plastic’s optical clarity.
Final Cleaning
A final cleaning is necessary before applying the clear coat. Use a wax and grease remover or isopropyl alcohol to clean the headlights thoroughly.
This step removes any residual oils, waxes, or polishing compound, providing a flawless surface for the clear coat to adhere to.
2. Application of 2K Clear Coat
Mixing the Clear Coat
Getting the mixture right is critical for optimal 2K clear coat performance. Follow the manufacturer’s instructions closely to mix the clear coat with the hardener.
Typically, this involves combining the two components in a specified ratio. The hardener enables the clear coat to cure and form a durable, protective layer.
Spraying Technique
The application technique can significantly affect the outcome. Here’s how to apply the clear coat properly:
Use a suitable spray gun or aerosol
If using a spray gun, ensure it has a nozzle appropriate for fine finishes. For aerosol cans, opt for those designed specifically for automotive clear coats to achieve a smooth, even spray.
Apply several thin layers.
Start with a light base layer and let it become slightly tacky before applying subsequent layers. This approach helps prevent runs and ensures each layer adheres well to the previous one.
Typically, three to four layers are sufficient, but follow the guidelines provided with your clear coat product.
Environment
The setting where you apply the clear coat can impact its curing and overall quality. The application should be made in a clean, controlled environment to avoid dust and debris settling on the wet, clear coat. Good ventilation is also necessary to safely disperse any fumes produced during application.

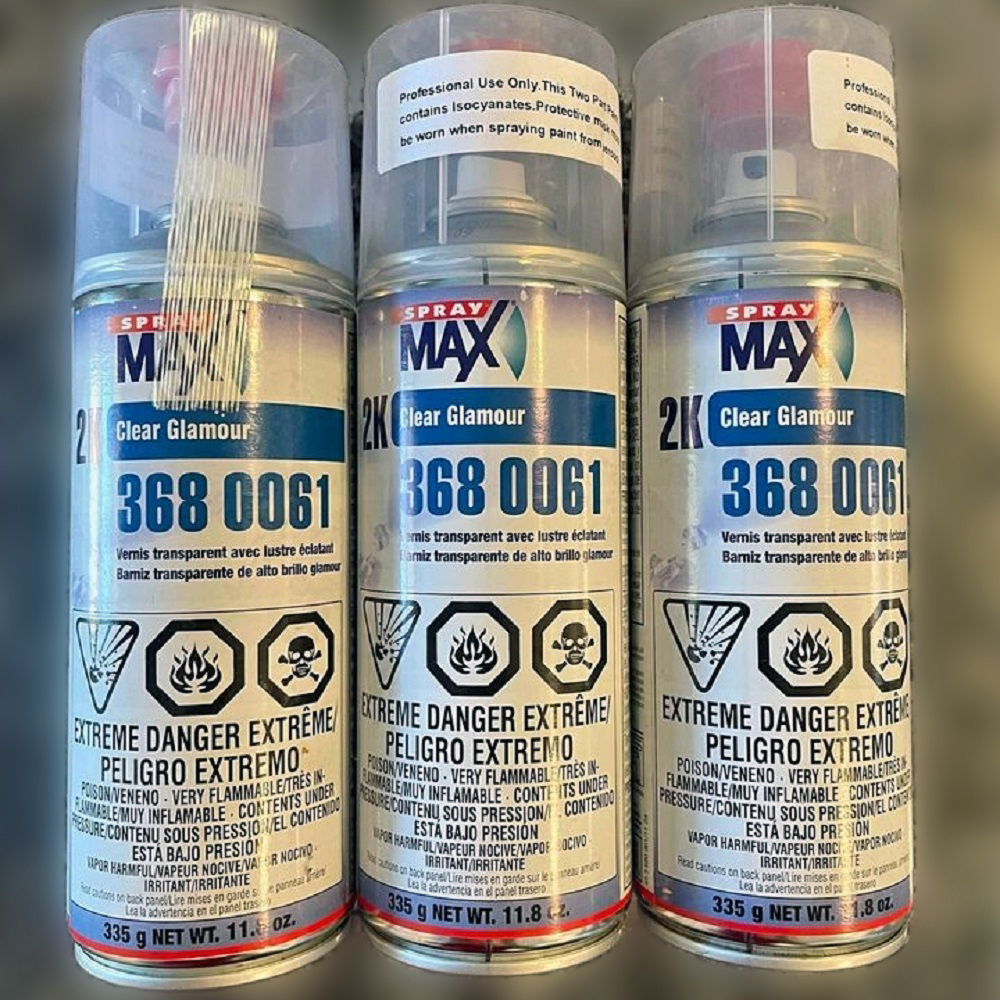
✔ 2K Two-Component Formula – Combines hardener and clearcoat in one aerosol for professional-grade results without a spray gun.
✔ High Gloss, Long-Lasting Finish – Flows smoothly and dries to a durable, mirror-like shine that resists weather and chemicals.
✔ Exceptional Scratch & Abrasion Resistance – Offers maximum protection for basecoats with a tough, resilient surface.
✔ Easy to Use – Activate, shake, and spray with the unique nozzle that mimics a spray gun for even coverage and smooth flow.
✔ Ideal for Automotive Applications – Perfect for cars, motorcycles, and touch-ups, compatible with all basecoat systems.
3. Curing and Post-Application Care
Curing Time
Proper curing is essential for the durability and effectiveness of the clear coat. Follow the specific curing time recommended by the manufacturer.
This may vary depending on the product and environmental conditions but generally ranges from several hours to overnight.
Proper curing ensures the hardener and clear coat form a strong bond, maximizing durability and resistance to environmental factors.
Post-Cure Treatment
Once the clear coat has fully cured, a few additional steps can enhance its appearance and longevity. If necessary, use a fine automotive polish to buff the headlights lightly.
This step enhances the clarity and shine of the clear coat, giving your headlights a professional, high-quality finish.
4. Long-Term Maintenance
To maintain the clarity and protection offered by the 2K clear coat, regular maintenance is crucial:
Regular Cleaning
Keeping the headlights clean is simple but essential. Cleaning them regularly with mild soap and water helps prevent dirt and chemicals from building up, which can degrade the clear coat over time.
Waxing
Applying wax can provide an additional layer of protection. Use a non-abrasive wax every few months to help protect the clear coat from dirt and contaminants, maintaining its clarity and protective qualities.

✔ Complete Restoration System – Includes disc pad holder, multiple sanding discs (500, 800, 3000 grit), quick clear coat wipes, and masking tape—everything you need to restore hazy lenses.
✔ Revives Headlights, Taillights & More – Designed for plastic lenses including headlights, fog lights, and directional lights to improve brightness and appearance.
✔ Advanced 3M Abrasive Technology – Removes yellowing, cloudiness, and oxidation without harming the lens surface.
✔ Flexible Use Options – Can be used by hand or with a household drill, making it easy for both DIY beginners and experienced detailers.
✔ Protective Finishing Wipe Included – Seals in clarity with 3M’s Quick Headlight Clear Coat for long-lasting UV protection.

✔ Complete 3-Step Restoration System – Includes oxidation remover wipes, sanding kit, and ceramic coating wipes to fully restore and protect your headlights—no power tools needed.
✔ Ceramic Coating That Lasts – The included ceramic layer chemically bonds to your headlight lens, delivering UV protection that lasts the life of your vehicle.
✔ No Tools, No Hassle – Everything you need is in the box. No drills, no risk of damaging paint or plastic—just a simple 30-minute DIY process.
✔ Restores Clarity & Prevents Yellowing – Wipes away haze and oxidation, while the ceramic coating prevents future fading and yellowing.
✔ Trusted by Industry Leaders – Made by Cerakote, a global innovator in ceramic polymer technology used in aerospace, defense, and automotive industries.
Conclusion
Restoring and maintaining your headlights with a 2K clear coat enhances their appearance and significantly boosts their longevity and performance.
By carefully preparing, applying, and maintaining, you can protect your headlights against UV damage, yellowing, and scratches. Investing in your vehicle’s upkeep ensures optimal visibility and preserves your car’s overall value and safety.