
Customizing your car’s interior can make a big difference in its look and feel. One popular and budget-friendly way to do this is using Plasti Dip on the interior trim. Plasti Dip is a flexible, rubberized coating in various colors and finishes.
It allows you to personalize your vehicle’s interior without making permanent changes. Whether you want to add a pop of color or protect your trim from wear and tear, Plasti Dip offers a versatile solution.
Perks of Using Plasti Dip on Interior Trim
Customizable Finish
1. Variety of Colors
Plasti Dip comes in many colors, allowing you to personalize your car’s interior to match your style. Whether you want a sleek black, a vibrant red, or something more unique, there’s a color to fit your vision.
2. Matte, Rubberized Finish
The matte, rubberized finish by Plasti Dip looks excellent and feels pleasing to the touch. This finish can enhance the overall feel of your car’s interior, giving it a modern and stylish look.
Protection
1. Shield Against Scratches and Scuffs
Applying Plasti Dip to your interior trim can protect the original surfaces from scratches, scuffs, and minor impacts. This is especially useful for high-traffic areas prone to damage over time.
2. Durability
The rubberized coating is durable and long-lasting, helping to keep your interior trim looking new for longer. It provides a resilient barrier that withstands everyday wear and tear.
Reversibility
1. Easy to Remove
One of Plasti Dip’s best features is its reversibility. If you want to change the look or return to the stock appearance, you can peel it off without damaging the original trim.
2. Flexibility for Updates
This flexibility allows you to experiment with different looks and update your interior as often as possible. It’s a great way to keep your car’s interior fresh and exciting without committing to permanent changes.
Getting Ready: Preparation Steps for Plasti Dipping
Cleaning the Trim
1. Soap and Water
Start by thoroughly cleaning the trim with soap and water to remove dirt and grime. This initial cleaning ensures the Plasti Dip adheres appropriately to the surface.
2. Isopropyl Alcohol
After washing with soap and water, use isopropyl alcohol to remove any remaining residue. This step ensures the trim is immaculate and free of oils or contaminants that could affect the coating.
3. Drying
Make sure the trim is completely dry before you start applying Plasti Dip. Any moisture left on the surface can interfere with the adhesion and finish of the coating.
Masking
1. Painter’s Tape
Use painter’s tape to mask off areas around the trim that you don’t want to be coated with Plasti Dip. This will help you achieve clean, sharp lines and prevent overspray on other interior parts.
2. Plastic Sheeting
Cover larger areas with plastic sheeting to protect the rest of the interior from overspray. This is especially important if you work in a confined space where overspray can easily settle on unintended surfaces.

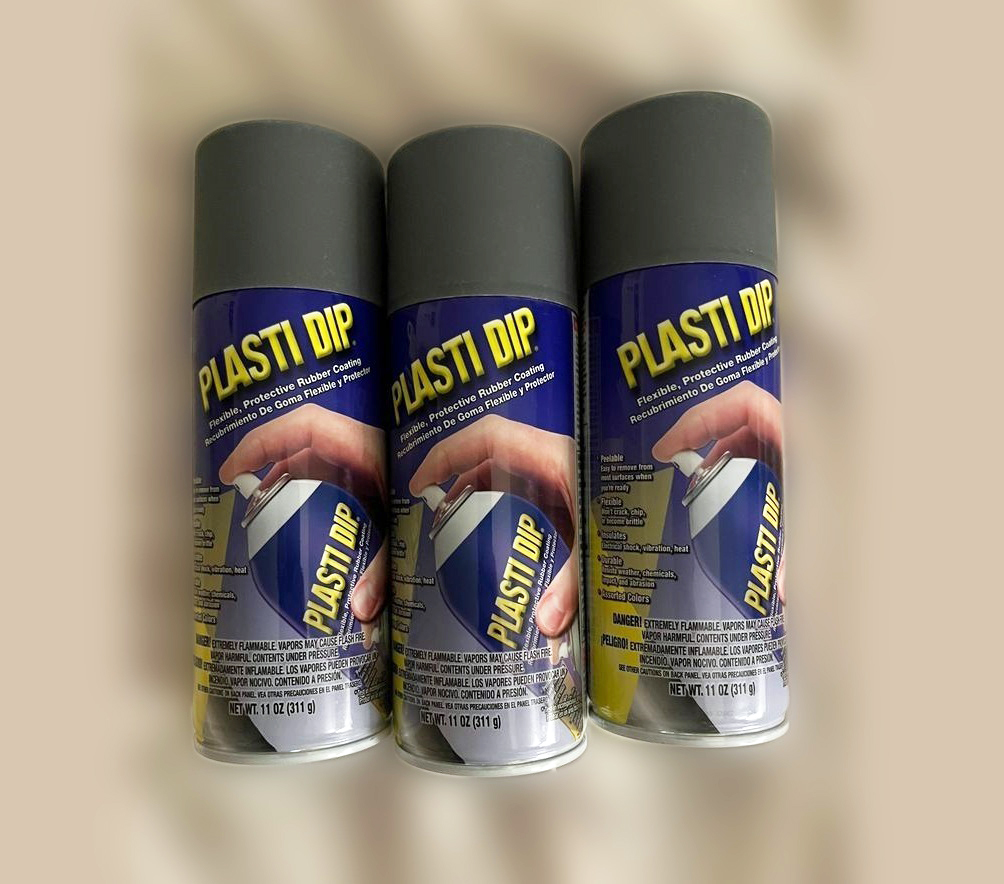
✔ All-Weather Protection – Shields surfaces from moisture, acids, corrosion, vibration, and heat, while remaining flexible and durable in extreme conditions.
✔ Non-Slip Grip & Comfort – Adds a soft-touch, non-slip coating ideal for tools, handles, car parts, and more—improves both comfort and control.
✔ Peelable & Removable – Easily removes without damage when you're ready to restore the original surface—great for temporary coatings or customization.
✔ Sound & Shock Dampening – Helps reduce noise, electrical shock risk, and minor vibrations, making it ideal for DIY automotive and workshop use.
✔ Versatile Use Cases – Perfect for wheels, badges, tools, and trim, or for protecting electronics, metal, glass, rubber, and more.
Applying Plasti Dip: Step-by-Step Process
Initial Coats
1. First Light Coat
Begin by applying a light first coat to act as a tack layer. Hold the can 6-8 inches from the surface and spray in even strokes. This initial coat helps the subsequent layers adhere better.
2. Additional Coats
Apply 3-4 additional coats, allowing 15-30 minutes of drying time between each coat. Ensure even coverage to avoid drips and achieve a smooth finish. Multiple thin layers are better than one thick layer to prevent runs and sags.
Drying and Curing
1. Touch Dry Between Coats
Allow each coat to dry to the touch before applying the next. This helps build a strong, even layer and prevents the coats from mixing too soon, which can cause uneven textures or bubbles.
2. Curing Time
After the final coat, let the Plasti Dip cure for 24 hours before handling the trim. This curing period ensures the coating is fully set and durable, providing long-lasting protection and an excellent finish.
Tackling Common Issues and Solutions
Uneven Application
1. Runs or Sags
If you notice runs or sags in the Plasti Dip, let it dry completely. Once dry, you can peel off the affected area and reapply. To avoid this issue in the future, make sure to apply lighter, more even coats.
2. Fixing Imperfections
For minor imperfections, lightly sand the area with fine-grit sandpaper and then apply a few more coats to blend it in. This can help smooth out the surface and achieve a uniform finish.
Peeling and Edges
1. Removing Tape
To create clean edges and prevent lifting, carefully peel the tape while the last coat is still slightly wet. This ensures a clean separation between the coated and uncoated areas.
2. Preventing Lifting
If the edges start to lift after drying, you can gently press them back down. Using a sharp blade to trim any excess can also help achieve a cleaner look.
Maintenance and Care: Keeping Your Plasti Dipped Interior Trim Looking Fresh
Cleaning
1. Mild Soap and Water
To clean Plasti-dipped surfaces, use mild soap and water. A soft cloth or sponge will help remove dirt and grime without damaging the coating. Avoid scrubbing too hard to maintain the integrity of the finish.
2. Avoid Harsh Chemicals
Stay away from harsh chemicals or abrasive cleaners. These can degrade the Plasti Dip and cause it to peel or lose color. Stick to gentle cleaning products to keep the coating looking its best.
Touch-Ups
1. Reapplying Plasti Dip
For areas that wear over time, reapply Plasti Dip as needed. To ensure a seamless touch-up, follow the steps you used for the initial application. Make sure to clean and dry the surface thoroughly before applying new coats.
2. Blending
Blend the new application with the existing coating when touching up small sections to maintain a uniform appearance. This can help hide any signs of wear and keep your interior looking consistently fresh.
Conclusion
Plasti Dip is a fantastic way to customize and protect your car’s interior trim. It offers a variety of colors, a durable finish, and easy reversibility.
You can achieve a professional-looking result by following proper preparation and application steps. Regular maintenance and occasional touch-ups will keep your interior looking fresh and stylish.