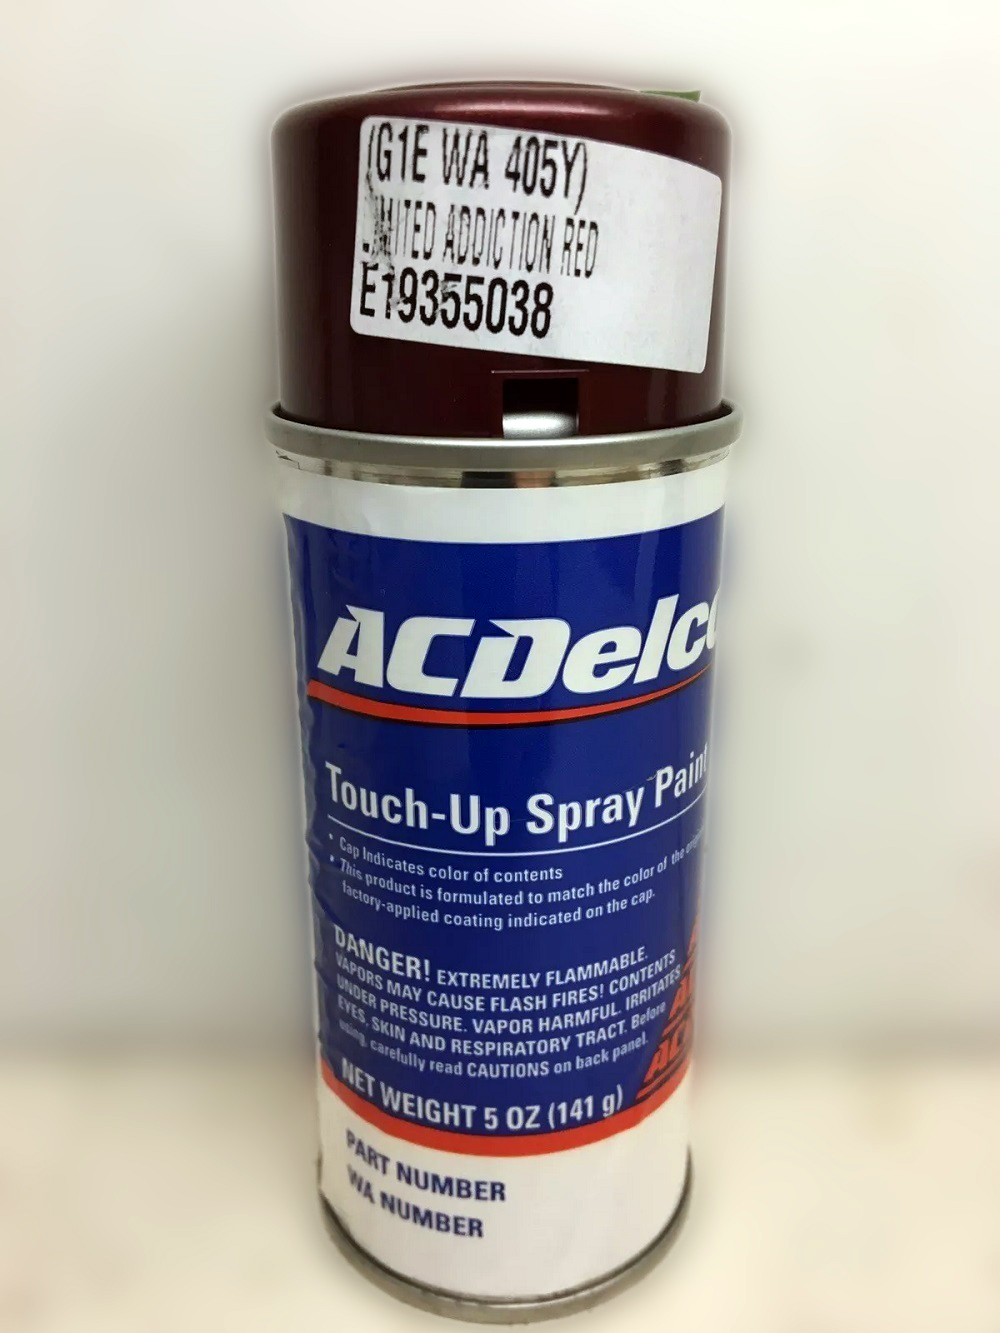
Scratches and chips in your car’s paint can be a real eyesore, but ACDelco touch-up paint makes it easy to fix those blemishes and restore a sleek finish.
This quick, budget-friendly solution is designed to match your vehicle’s original color, letting you cover up imperfections without needing a pricey body shop.
Whether you’re a first-time DIYer or have experience with touch-ups, we’ll walk you through every step to help you restore your car’s flawless look and protect it from further damage. Let’s get started on bringing back that shine.
Materials You’ll Need
Before starting your touch-up job, make sure you have all the necessary materials:
1. ACDelco Touch-Up Paint Applicator in the correct color for your vehicle.
2. Fine-grit sandpaper (600-1000 grit) for prepping the surface.
3. Wax and Grease Remover for cleaning.
4. Clean Microfiber Cloths for wiping and polishing.
5. Primer and Clear Coat (if needed).
6. Masking Tape and Paper to cover surrounding areas.
7. Personal Protective Equipment like nitrile gloves, safety glasses, and a respirator if you’re working in a poorly ventilated area.
Step-by-Step Instructions
1. Identify the Correct Color Code
The first step is to find your vehicle’s paint code. Look for the Service Parts Identification sticker, typically found in the glove box, spare tire cover, or driver’s side door jamb.
The paint code might be labeled as “BC/CC” (Basecoat/Clearcoat) or “U” (Upper Color). Once you find it, confirm the code matches the ACDelco touch-up paint color you plan to use.
2. Evaluate the Damage
Take a good look at the scratch or chip. ACDelco touch-up paint will only work well on the surface, affecting the clear coat.
However, if the damage has exposed bare metal, you have to apply primer and consult a professional to avoid rust problems.
3. Clean and Prepare the Area
Start by washing the area with mild soap and water and drying it thoroughly with a clean microfiber cloth. Then use wax and grease remover to remove any oils or contaminants that might affect paint adhesion.
If the scratch is deep, lightly sand it with 600-800 grit sandpaper to smooth out rough edges, blending it into the surrounding paint. Wipe the area clean again after sanding.
4. Mask Surrounding Areas (Optional)
Cover the areas around the damage with masking tape and paper for precision. This will protect parts of your car that you don’t want the paint to touch accidentally, especially if the scratch is near sensitive trim or emblems.
5. Apply Primer (If Bare Metal Is Exposed)
If bare metal is visible, applying primer is a crucial step. Shake the primer well and apply a thin coat to the exposed area. Allow it to dry according to the instructions, usually between 20 and 30 minutes. This helps the touch-up paint bond to the surface and prevents rust.
6. Apply the Touch-Up Paint
Prepare the Applicator
Shake the ACDelco touch-up paint thoroughly for at least a minute. The applicator typically comes with a pen tip for fine lines and a brush for larger chips, so choose the appropriate tool based on the size of the damage.
Application Technique
Test the paint on cardboard first to get a feel for its flow. Apply the paint in thin layers, using light dabbing or brushing motions.
Avoid overfilling the scratch, as this can lead to a bumpy surface. Let each coat dry for 15-20 minutes before adding the next. Continue applying thin layers until the touch-up paint is level with the surrounding surface.
7. Apply Clear Coat (Recommended)
A clear coat will enhance the shine and protection after the final layer of touch-up paint has dried. Use the clear coat applicator to apply a thin, even layer over the painted area. Allow it to dry for at least an hour.
8. Finishing Touches
Wet Sanding (Optional)
Consider wet sanding with 1500-2000 grit sandpaper if you want a perfectly smooth finish. However, be careful—improper technique can damage the surrounding paint. Only perform this step if you’re comfortable with the process.
Polishing
Wait 24 hours for the paint to cure, then use a fine polishing compound to bring out the shine. Gently buff the area with a clean microfiber cloth until it matches the gloss of the surrounding paint.
9. Clean Up
Dispose of used paint cans, cloths, and materials following local waste regulations. Store any remaining touch-up paint in a cool, dry place for future touch-ups.
Professional Tips for a Better Result
1. Patience is Key
Applying multiple thin coats and letting each dry fully will lead to a better finish.
2. Ideal Conditions Matter
Work in a space with temperatures between 60°F and 80°F and low humidity to prevent drying issues.
3. Practice Makes Perfect
Try the applicator on a hidden area to practice your technique before starting on visible parts of your car.
4. Use Fine Tools
Use fine artist brushes or toothpicks to fill tiny scratches for more control. A magnifying glass can help spot details.
5. Seek Professional Help When Needed
If the damage is too extensive, you need to consult a body shop to avoid compromising your vehicle’s appearance.
Conclusion
ACDelco touch-up paint offers an effective way to repair scratches and chips, helping to restore your vehicle’s look while preventing rust.
With the proper preparation, patience, and technique, you can achieve a clean, polished finish and keep your car looking its best for years.
Was This Article Helpful?