
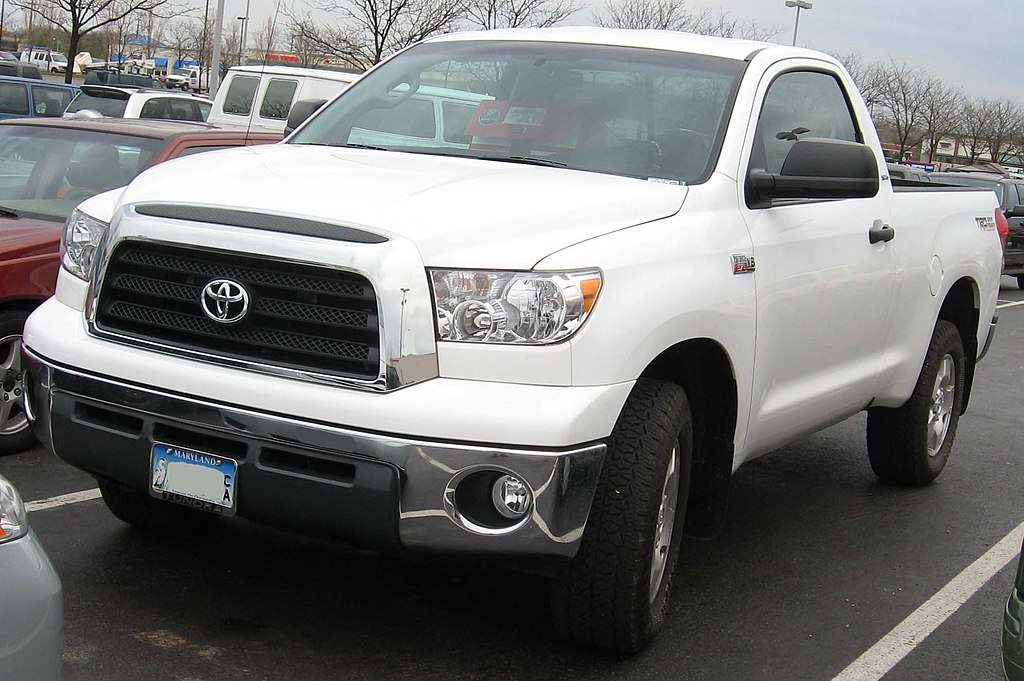
Spotting oil stains on your driveway? If you own a Toyota Tundra, especially one with the 5.7L i-Force V8, that leak might be coming from the cam tower. This isn’t just a minor drip—it can lead to oil loss and a messy engine bay if ignored.
The cause? Heat cycling, aluminum expansion, and time gradually wear down the silicone seal (FIPG) that sits between the cam tower and cylinder head.
This issue shows up most often in Tundras from 2007 onward, particularly those with the 3UR-FE 5.7L V8. But don’t rule it out if you drive a Tundra with the 4.6L 1UR-FE or the older 4.7L 2UZ-FE—they share similar sealing methods, though leaks are less common. However, leaks have also been reported in later models, including 2014–2017.
So what’s the fix? It usually comes down to pulling the cam tower, cleaning off the old sealant, and resealing it with fresh FIPG. But before you grab your tools, let’s break down how to spot the leak, confirm it’s not something else, and tackle the repair the right way.
Affected Models and Why They’re Prone to Leaks
Engines and Model Years in the Spotlight
If you’re driving a Toyota Tundra built from 2007 onward, particularly one with the 5.7L 3UR-FE V8, you’re in the prime zone for cam tower leaks.
While it’s less common, the 4.6L 1UR-FE and the older 4.7L 2UZ-FE can also develop the issue since they use a similar cam tower design. However, these engines are relatively less prone to leaks.
Interestingly, leaks seem more frequent in 2007–2013 models, with fewer reports in later years, although leaks have still been documented in 2014–2017 models.
Toyota hasn’t made any official design changes, but real-world feedback suggests that improvements in the FIPG formulation or assembly process might have led to better sealing in newer models.
What Makes the Cam Tower Vulnerable?
Think of the cam tower as the lid on a jar—it sits snugly on the cylinder head, sealed with a bead of silicone sealant known as FIPG (Formed-In-Place Gasket). But over time, engine heat and vibrations cause that sealant to break down. Here’s why:
• Thermal Expansion: Aluminum expands and contracts with heat, slowly loosening the seal.
• Vibrations: The constant movement of the engine, combined with road vibrations, adds stress to the seal.
• Factory Application Variability: Sometimes, the factory-applied FIPG isn’t perfectly even, leading to early leaks.
• Heat Cycling: Repeated heating and cooling cycles cause the FIPG to harden and lose its elasticity over time.
The result? Oil starts to seep out where the cam tower meets the cylinder head. And because the tower sits below the valve cover, it’s easy to mistake the leak for a valve cover gasket issue—until you realize the leak is coming from lower down.
Spotting the Leak: How to Know It’s the Cam Tower
Signs Your Tundra’s Cam Tower Is Leaking
So, what tips you off that your Tundra’s cam tower is leaking? It starts with oil stains along the seam where the tower meets the cylinder head. Unlike a valve cover gasket leak, which shows up higher, this leak sits lower on the engine.
If you spot oil pooling near the firewall (for rear towers) or around the front of the engine (for front towers), that’s a red flag. You might also notice oil dripping onto the exhaust manifold near the rear of the engine or collecting along the front timing cover.
You might also catch a whiff of burning oil or see a faint wisp of smoke if the oil drips onto the exhaust manifold. And if the leak gets worse, you’ll notice small drips under the truck after it’s parked.
Don’t Confuse It with These Other Leaks
Oil leaks can be sneaky. Here’s how to tell the cam tower apart from other causes:
• Valve Cover Gasket: A valve cover leak shows up higher on the engine. If the oil is below that level, the cam tower is more likely the source.
• Timing Cover Seal: Leaks from the timing cover usually gather around the crankshaft area, lower than a cam tower leak.
• Cylinder Head Gasket: If oil appears mid-block or mixes with coolant, the head gasket might be the problem.
• Oil Pan Gasket: Leaks from the pan appear at the engine’s base and can sometimes mimic a cam tower leak as oil drips down the block.
Identifying the Source: Step-by-Step Diagnosis
1. Start with a Clean Slate: Wipe down the engine to remove any old oil residue. Take the truck for a short drive, then inspect the engine bay again. Fresh oil lines appearing along the cam tower seam confirm the leak.
2. Use UV Dye for Precision: Add a small amount of SAE-approved fluorescent dye to the engine oil. After running the engine, shine a UV light around the suspected area.
If the seam between the cam tower and cylinder head glows under UV light, you’ve found the source. Note that oil leaks might take time to appear after applying dye, so patience is essential.
A thorough diagnosis ensures you’re not tearing into the engine for the wrong reason. Ready to see how to fix it?
Tackling the Problem: Fixing a Leaking Cam Tower
Getting Ready for the Job
Fixing a cam tower leak isn’t a quick bolt-tightening job—it means removing the tower, cleaning the surfaces, and resealing it with fresh FIPG. Before you dive in, disconnect the battery and remove parts like the valve cover, ignition coils, and timing chain tensioner if you’re working on the front tower.
Make sure you’ve got the right sealant on hand—Toyota’s OEM FIPG (such as Toyota Seal Packing 103) is recommended, as it provides better long-term reliability than a generic RTV silicone gasket.
Removing the Cam Tower Step by Step
1. Loosen the Bolts Carefully: Unbolt the tower in a crisscross pattern to release pressure evenly. This prevents warping the aluminum.
2. Lift the Tower Gently: Carefully lift the tower off the head. Watch out for the camshafts—depending on the engine design, you may need to loosen or remove them to access the tower.
3. Inspect the Mating Surfaces: Look for signs of uneven sealing or old FIPG residue that could have caused the leak.
Cleaning and Prepping for the Reseal
1. Remove All Old Sealant: Use a plastic or brass scraper to clean both the cylinder head and tower mating surfaces. Avoid metal tools that could gouge the aluminum.
2. Degrease the Surfaces: Wipe both surfaces with brake cleaner or solvent to remove oil and residue, ensuring a clean surface for the new sealant.
3. Apply Fresh Sealant: Lay a consistent bead of FIPG along the original sealing lines. Ensure the bead is even and the correct thickness—too thin or uneven application can lead to repeat leaks, while too much sealant can squeeze into oil passages.
Reinstalling the Cam Tower
1. Align and Secure the Tower: Carefully place the tower back onto the cylinder head, ensuring it aligns with any dowel pins or reference marks.
2. Torque the Bolts Properly: Tighten the bolts in a crisscross pattern, gradually increasing to the final torque spec. Toyota typically specifies a two-step torque process, with a final spec around 14 ft-lbs, but verify for your engine. Over-torquing can warp the tower or affect camshaft alignment.
3. Reassemble the Valvetrain: If you removed the camshafts, reinstall them with a light coat of oil on the journals. Reinstall the valve cover, ignition coils, and any other components you removed.
Testing for Success
After reassembly, start the engine and let it idle until warm. Check for any signs of fresh oil around the tower seam. If everything looks good, take the truck for a short drive and inspect again. A properly sealed cam tower should stay leak-free for the long haul.
What the Pros Say and Things to Watch Out For
Different Designs, Different Rules
Not all Tundra engines are built the same. Early versions of the 3UR-FE (2007–2010) sometimes have more frequent leaks, possibly due to the original FIPG formulation or slight design differences. Models from 2014 to 2017 also have documented cases of leaks, though they are less frequent.
Post-2013 models seem to hold up better, possibly due to improvements in FIPG formulation or assembly processes. If you’re working on a newer engine, check for updated torque specs or service bulletins in the official repair manual.
Why Torque Matters
Over-tightening the cam tower bolts might seem like a quick fix, but it’s a risky move. Too much pressure can warp the aluminum and cause misalignment in the camshaft journals, leading to bigger problems down the road. Stick to the manufacturer’s torque sequence and specs—usually around 14 ft-lbs—to ensure a proper seal without stressing the parts.
Weighing the Costs
Ignoring a minor leak might seem harmless, but oil seepage can worsen over time and create a mess under the hood. Left unchecked, it could drip onto hot exhaust components, creating smoke or even a fire hazard.
Professional repairs at a dealership typically range from $3,000 to $6,000 due to the labor involved. Independent shops may offer a better price, but make sure they follow Toyota’s sealing process.
Don’t Cut Corners with External Seals
Trying to seal the cam tower externally with silicone might save time, but it’s rarely a long-term solution. The proper fix involves removing the tower, cleaning the mating surfaces, and applying fresh FIPG internally. Skipping this step could lead to recurring leaks and more expensive repairs later.
Final Thoughts
A cam tower leak on a Toyota Tundra might not be the end of the world, but ignoring it can lead to messy engine bays, oil consumption, and potential safety hazards. Pinpointing the leak is crucial—don’t confuse it with valve cover or timing cover issues.
The proper fix involves removing the tower, thoroughly cleaning the surfaces, and applying the correct FIPG sealant. Rushing through the process or skipping torque specs can cause more harm than good. While the repair is labor-intensive, tackling it correctly the first time will save you from headaches down the road.