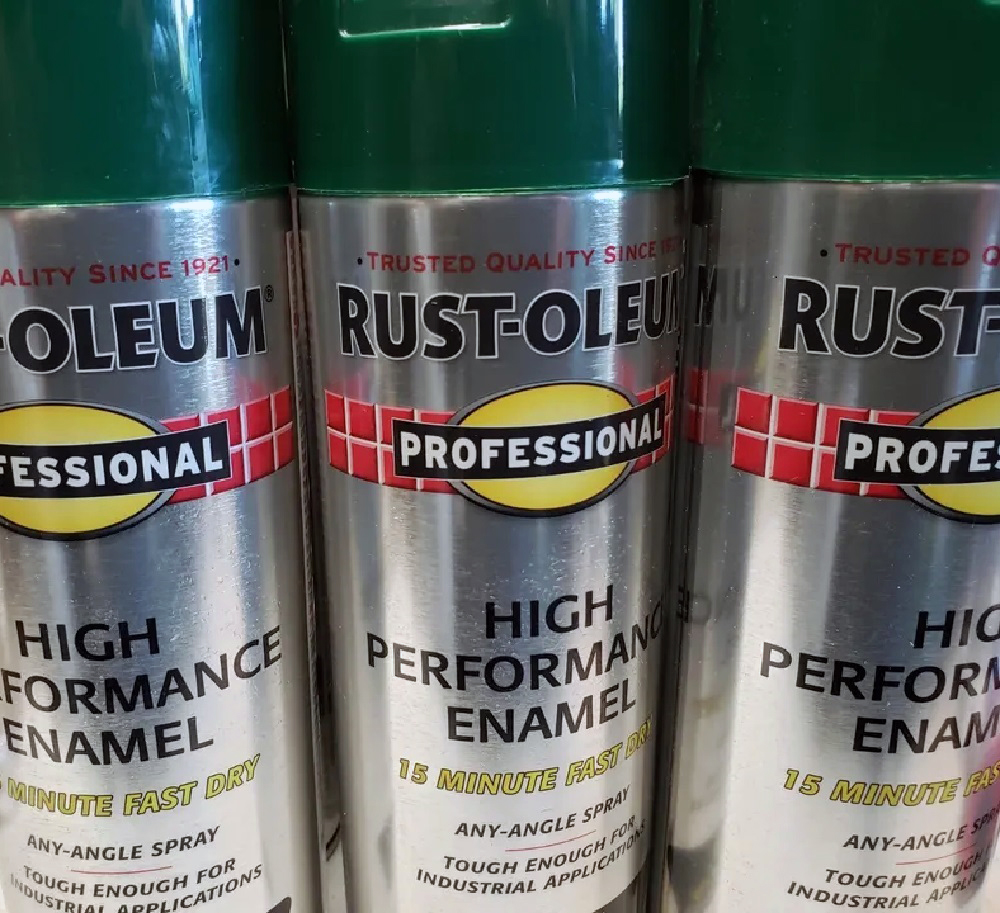
When it comes to DIY projects, especially those involving car parts, durability and aesthetics often take priority. Rustoleum paint is widely recognized for its protective qualities and decorative potential.
However, even the toughest paint can benefit from an extra layer of armor. That’s where applying a 2K clear coat comes in.
It adds a layer of protection against elements like UV rays, chemicals, and scratches. It also enhances the gloss, making the color pop and shine like it’s straight out of a professional workshop.
But why is this extra step so important? Applying a 2K clear coat over Rustoleum paint seals the deal—literally. It extends the life of your paint job and keeps it looking fresher longer.
This combination is particularly beneficial for automotive projects, where exposure to harsh conditions is expected.
With the right approach, you can achieve a top-tier finish that withstands time and elements, all while adding a luxurious shine that elevates the overall look of your project.
1. Surface Preparation
Ensuring Complete Curing
The first step to a successful clear coat application is patience, ensuring your Rustoleum paint has completely cured. This isn’t just about waiting out the time; it’s about providing the best foundation for the clear coat.
Typically, Rustoleum recommends a drying time of 48-72 hours under normal weather conditions. This curing period is essential as it ensures the paint has hardened and adhered well to the surface, setting the stage for a flawless clear coat application.
Surface Cleaning
Once your paint is dry to the touch and fully cured, the next critical step is cleaning. Any dust, dirt, or grease can hinder the adhesion of the clear coat, leading to peeling or bubbling later on.
Start by gently wiping down the surface with a clean, lint-free cloth. Follow up with a mild solvent like mineral spirits to remove any remaining oily residues. This step ensures the surface is flawless, providing a clean slate for the clear coat.

✔ Effective Paint Cleanup – Easily removes oil-based paint from brushes, rollers, and surfaces.
✔ Residue-Free Degreasing – Cuts through grease and grime without leaving behind a sticky residue.
✔ Preps Surfaces for Painting – Ideal forcleaning and degreasing large surfaces before applying paint.
✔ Low-Odor Formula – Provides a powerful clean without harsh fumes, making it great for indoor use.
✔ Versatile Use – Perfect for interior jobs, DIY projects, and professional applications.
Sanding
The final preparatory step is sanding. This might sound counterintuitive—sanding down the paint you just applied—but it’s a gentle yet effective way to prep the surface.
Lightly sand the painted area using fine-grit sandpaper (400-600 grit). The goal is to create a slightly rough texture that the clear coat can cling to, not to remove the paint layer.
Be thorough yet gentle to avoid sanding down to the base material. This creates the perfect texture for the clear coat to adhere, ensuring a smooth and long-lasting finish.
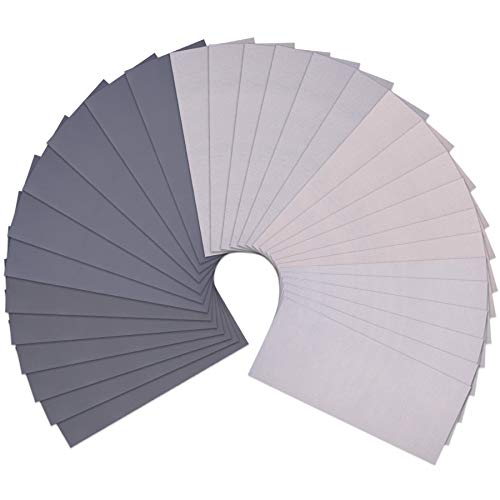
✔ Comprehensive Grit Selection – Includes 30 sheets with 5 high grits: 2000, 3000, 5000, 7000, and 10000, giving you the range needed for ultra-fine polishing and finishing.
✔ Generous Size and Flexible Use – Each sheet measures 9" x 3.6", easy to use by hand, with a sanding block, or cut down to fit specific project needs.
✔ Wet or Dry Application – Crafted from high-quality silicon carbide with nano-sand-planting technology, ideal for use with water, oils, varnish, shellac, or lacquer.
✔ Durable and Smooth Handling – Features a soft, electroplated backing for easy sanding without cracking, tearing, or losing grit.
✔ Versatile Polishing Set – Perfect for fine finishing on metal, wood, plastic, stone, jade, leather, and automotive projects.
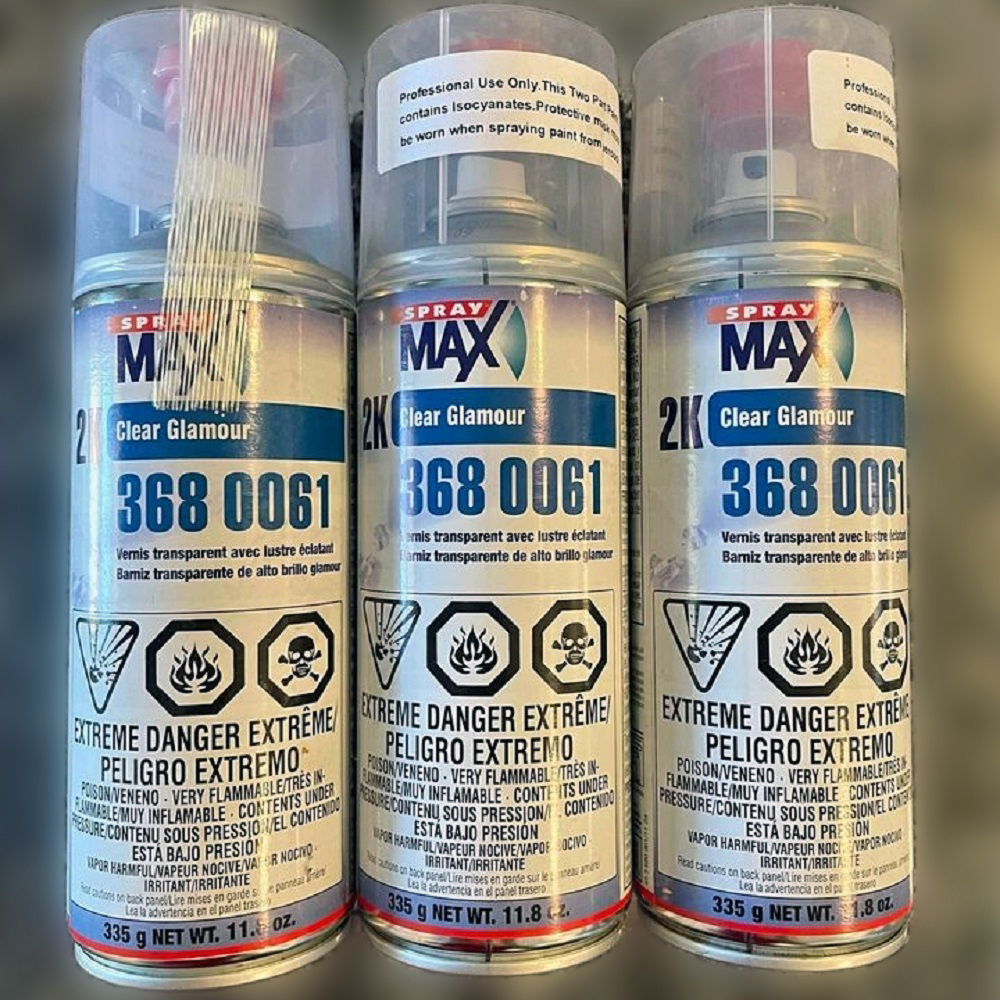
2. Applying 2K Clear Coat
Mixing the 2K Clear Coat
Prepare the 2K clear coat correctly before you begin the application process. This product typically comes in two parts: a resin and a hardener that must be mixed.
Follow the manufacturer’s instructions carefully to achieve the correct ratio. This mixture ensures the hardening characteristics and durability that a 2K clear coat is known for.
Once mixed, the clear coat should be used within a specified time frame to ensure the best results, as it begins to cure once the components are combined.

✔ 2K Two-Component Formula – Combines hardener and clearcoat in one aerosol for professional-grade results without a spray gun.
✔ High Gloss, Long-Lasting Finish – Flows smoothly and dries to a durable, mirror-like shine that resists weather and chemicals.
✔ Exceptional Scratch & Abrasion Resistance – Offers maximum protection for basecoats with a tough, resilient surface.
✔ Easy to Use – Activate, shake, and spray with the unique nozzle that mimics a spray gun for even coverage and smooth flow.
✔ Ideal for Automotive Applications – Perfect for cars, motorcycles, and touch-ups, compatible with all basecoat systems.
Test Application
Before you commit to covering your freshly painted automotive parts, do a test run. Apply the clear coat to a small, inconspicuous area or a spare piece of similar material.
This test helps you check for potential reactions between the Rustoleum paint and the clear coat and lets you see the finish. Based on this test, adjust your technique to ensure the best finish for the larger, more visible areas.
Spraying Technique
The application technique can make or break your final result. A spray gun is recommended for a uniform and professional finish for automotive projects.
Equip the spray gun with the appropriate nozzle, typically 1.3-1.4 mm for clear coats. Apply the clear coat in several thin, even layers.
Each layer should be allowed to become tacky before the next is applied. This method prevents runs and sags and ensures each layer bonds well, building a robust and protective finish.
Curing
After applying the clear coat, it needs time to fully cure. Environmental factors such as temperature and humidity affect the curing process, so follow the manufacturer’s guidance closely.
Generally, it’s best to allow the clear coat to dry in a clean, well-ventilated, and temperature-controlled environment. This step is vital as it solidifies the coat’s protective properties and enhances its gloss.
Proper curing ensures your automotive project looks professional and matches the rigors of use and weather.

✔ Durable & Quick-Drying Formula – Acrylic enamel finish holds up to the elements on metal, wood, plastic, and more—indoors or out.
✔ Superior Coverage with Fewer Coats – Delivers up to 12 sq. ft. of even, vibrant red color with fewer passes thanks to advanced 2X coverage technology.
✔ Custom 5-in-1 Spray Control – Choose from five spray patterns—high, low, standard, vertical fan, or horizontal fan—for precision in any project.
✔ Fast Touch-Dry in 20 Minutes – Designed for efficiency, allowing quicker recoats and less downtime between steps.
✔ 360° Any-Angle Spray – Spray confidently from any position—even upside down—for full coverage on hard-to-reach surfaces.
3. Post-Application Steps
Final Inspection
Once the clear coat has cured, inspect the finish thoroughly. Under good lighting, look over the entire surface to spot imperfections such as dust nibs, runs, or sags.
This detailed inspection is necessary, as addressing flaws will ensure the best appearance and durability of your automotive paint job.
Sanding and Polishing
If you find any imperfections during your inspection, wet sanding and polishing are your next steps. Start with ultra-fine sandpaper (2000 grit) to gently sand down any problematic areas.
✔ Comprehensive Grit Selection – Includes 30 sheets with 5 high grits: 2000, 3000, 5000, 7000, and 10000, giving you the range needed for ultra-fine polishing and finishing.
✔ Generous Size and Flexible Use – Each sheet measures 9" x 3.6", easy to use by hand, with a sanding block, or cut down to fit specific project needs.
✔ Wet or Dry Application – Crafted from high-quality silicon carbide with nano-sand-planting technology, ideal for use with water, oils, varnish, shellac, or lacquer.
✔ Durable and Smooth Handling – Features a soft, electroplated backing for easy sanding without cracking, tearing, or losing grit.
✔ Versatile Polishing Set – Perfect for fine finishing on metal, wood, plastic, stone, jade, leather, and automotive projects.
This should be done carefully and with plenty of water to avoid damaging the clear coat layer. Once the surface is smooth and even, use a high-quality automotive polish to create a deep, glossy shine.
Apply the polish with a soft, clean cloth or a buffing machine, working in small sections to achieve a uniform finish. This final touch enhances the visual appeal and provides extra protection against environmental elements.
By following these detailed steps, from surface preparation to the final polish, you ensure that your automotive paint job with Rustoleum paint and 2K clear coat looks professional and withstands the challenges of exposure and use.
Was This Article Helpful?