
Plasti Dip, a versatile rubber-based coating, has revolutionized DIY projects, particularly in automotive detailing, by protecting and enhancing vehicle aesthetics.
Unlike traditional paints or varnishes that harden to a solid, durable finish, Plasti Dip retains a flexible, rubbery texture even after drying.
This unique feature allows it to stretch and resist cracking under varying conditions, which is great for usability but poses challenges for modifications like sanding.
Given its design to be peelable and temporary, many might wonder why you would consider sanding Plasti Dip at all. However, while generally not recommended, there are specific situations where some sanding could be necessary.
This guide will help you figure out when and how to sand Plasti Dip safely, if you have to, and offer alternative methods for achieving your desired finish without compromising the material’s integrity.
What Plasti Dip features matter for sanding?
Flexibility and Texture
One of Plasti Dip’s key features is its flexibility. Once cured, it maintains a soft, stretchable quality similar to rubber. This flexibility is a massive plus for durability and adaptability, but becomes problematic when sanding.
Traditional sanding tools and methods are designed for rigid surfaces. When applied to Plasti Dip, the friction often causes the material to gum up, clogging the sandpaper and potentially tearing the surface instead of smoothing it.
Thickness and Layers
The application process of Plasti Dip can lead to varying thicknesses across the coated surface, mainly when multiple layers are applied.
Each additional layer increases the overall thickness, which might lead some to consider sanding down the surface to even it out or reduce its bulk.
However, because Plasti Dip is rubber-like, attempting to sand it down can lead to uneven surfaces and less-than-ideal tactile and visual results.

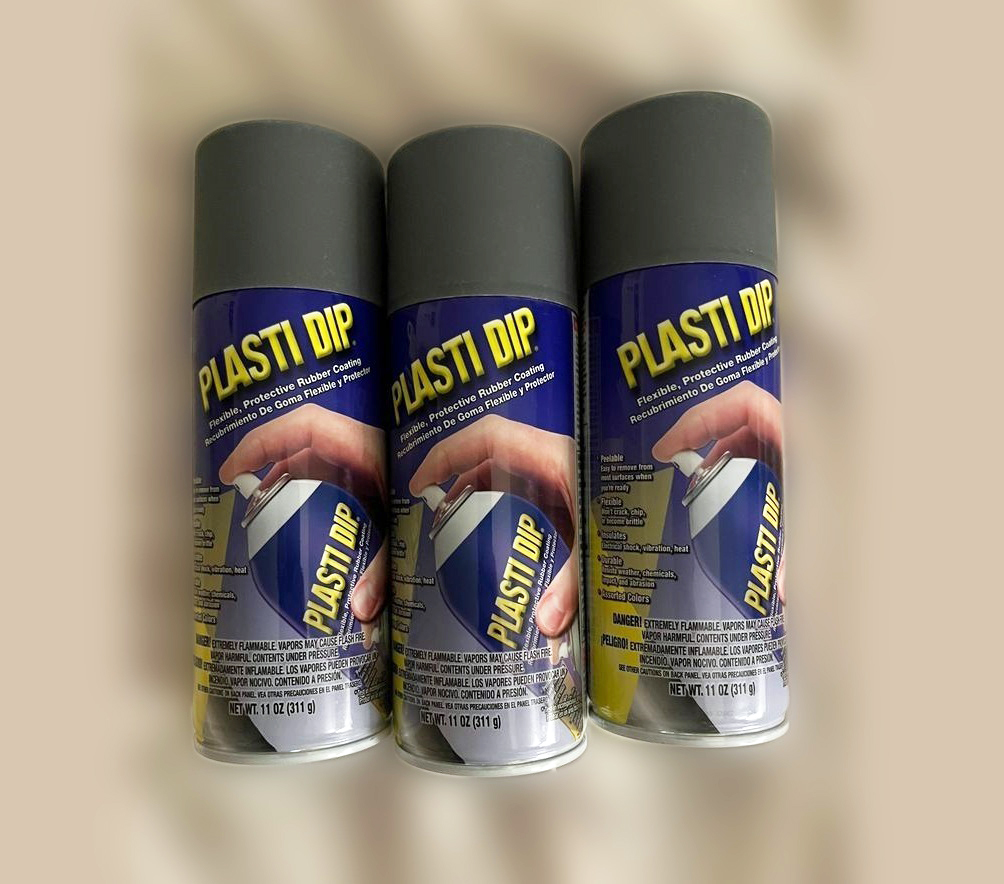
✔ All-Weather Protection – Shields surfaces from moisture, acids, corrosion, vibration, and heat, while remaining flexible and durable in extreme conditions.
✔ Non-Slip Grip & Comfort – Adds a soft-touch, non-slip coating ideal for tools, handles, car parts, and more—improves both comfort and control.
✔ Peelable & Removable – Easily removes without damage when you're ready to restore the original surface—great for temporary coatings or customization.
✔ Sound & Shock Dampening – Helps reduce noise, electrical shock risk, and minor vibrations, making it ideal for DIY automotive and workshop use.
✔ Versatile Use Cases – Perfect for wheels, badges, tools, and trim, or for protecting electronics, metal, glass, rubber, and more.
Reasons to Avoid Sanding Plasti Dip
Surface Damage
Sanding Plasti Dip is not like sanding wood or metal. Due to its elastic properties, the material does not abrade uniformly.
Instead, sanding can cause tearing, which may ruin the finish’s aesthetics and damage the integrity of the coating itself.
This damage can be particularly harmful if the Plasti Dip is used as a protective layer, as it compromises the material’s ability to shield the underlying surface from moisture, dust, and scratches.
Aesthetic Issues
From an aesthetic standpoint, sanding Plasti Dip will likely leave you less satisfied with your project. The process can introduce scratches, uneven textures, and visible marks that detract from the smooth, matte appearance often desired when using Plasti Dip.
These imperfections can be difficult, if not impossible, to repair or cover up, leading to a need for complete removal and reapplication, which defeats the purpose of making minor adjustments through sanding.
Cases Where Light Sanding Might Be Considered
Preparation for More Layers
If you want to add more layers of Plasti Dip for enhanced durability or color depth, a very light sanding might be necessary.
Using ultra-fine sandpaper (800-grit or higher) can gently roughen the surface just enough to improve the adhesion of subsequent layers.
This method requires a delicate touch to avoid digging into the existing layer while creating a slightly textured surface that the new Plasti Dip can grip more effectively.
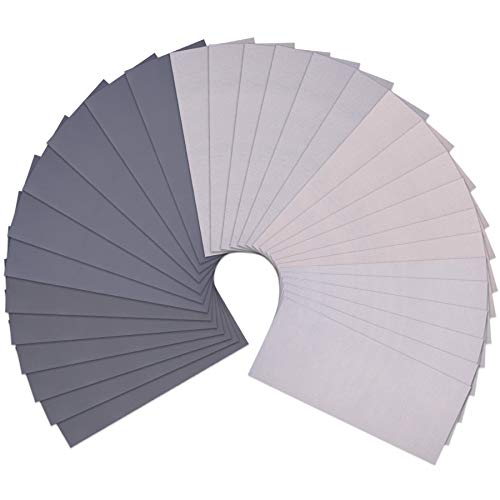
✔ Comprehensive Grit Selection – Includes 30 sheets with 5 high grits: 2000, 3000, 5000, 7000, and 10000, giving you the range needed for ultra-fine polishing and finishing.
✔ Generous Size and Flexible Use – Each sheet measures 9" x 3.6", easy to use by hand, with a sanding block, or cut down to fit specific project needs.
✔ Wet or Dry Application – Crafted from high-quality silicon carbide with nano-sand-planting technology, ideal for use with water, oils, varnish, shellac, or lacquer.
✔ Durable and Smooth Handling – Features a soft, electroplated backing for easy sanding without cracking, tearing, or losing grit.
✔ Versatile Polishing Set – Perfect for fine finishing on metal, wood, plastic, stone, jade, leather, and automotive projects.
Smoothing Minor Imperfections
Despite its versatile application, sometimes Plasti Dip doesn’t settle perfectly smooth and may develop small drips or bumps.
In such cases, light sanding can help flatten these minor imperfections. However, you must proceed cautiously—using fine sandpaper and light pressure—to ensure you’re not removing more material than intended or damaging the overall coating.
Alternative Methods to Modify Texture
Thinning the Plasti Dip
Before applying Plasti Dip, consider adjusting its viscosity to suit your project’s needs. Using a specially designed thinner for Plasti Dip can help you achieve a smoother, more even finish right from the start.
Thinning the product allows it to spread more evenly and reduces the likelihood of drips and bumps that might later tempt you to sand the surface.
Applying Additional Layers
If you have minor surface imperfections or uneven texture, applying additional layers of Plasti Dip can be a safer alternative to sanding.
Each new layer can help to smooth out irregularities from previous applications, building up a consistent and even surface without the abrasive damage that sanding could cause.
Using a Different Application Technique
The technique used to apply Plasti Dip can significantly affect its texture. Experimenting with different spraying angles, distances, and even the speed at which you apply the spray can result in a smoother finish.
Adjusting these factors might require some trial and error, but finding the right combination can enhance the overall quality of the finish without the need for invasive methods like sanding.
Conclusion
In summary, while sanding Plasti Dip is generally discouraged due to its potential to damage both the coating’s surface and aesthetic qualities, there are specific cases where it might be necessary.
For most projects, however, employing alternative methods such as adjusting the viscosity, applying additional layers, or tweaking the application technique can achieve a smoother finish without the risks associated with sanding.
By understanding the unique properties of Plasti Dip and carefully choosing your approach, you can ensure the best possible outcome for your customization projects.